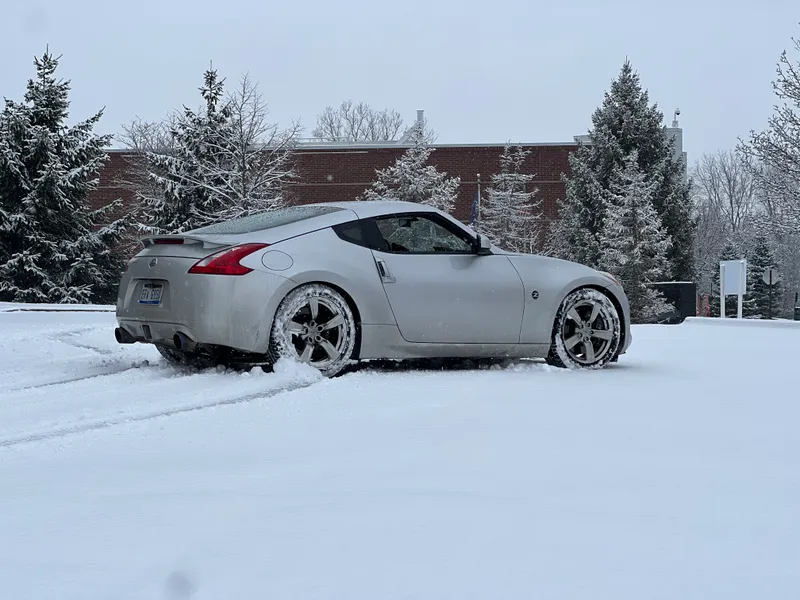
NVH (noise, vibration and harshness) is one of those engineering disciplines that’s easy to ignore when it’s done well. You don’t notice the hundreds of rubber bushings, mounts and isolators in a car until one of them is gone. I found that out the hard way when I swapped my 370Z’s worn-out differential bushings for solid aluminum.
The problem: a blown diff bushing
The 370Z’s differential is held in place by rubber bushings, and the main one is fluid-filled. Fluid-filled bushings use an internal chamber of fluid to add damping, so they can soak up vibration without being as soft (and sloppy) as plain rubber. Mine had exploded.
I found out at around 60,000 miles. There were two clues: fluid leaking from the bushing, and some pretty severe wheel hop during hard launches.
With the bushing torn, the diff was free to move far more than it should. That showed up as slop in the drivetrain: a clunk when getting on and off the throttle, and odd dynamics on autocross launches. Under hard launches, the diff would wind up and shift in its mount instead of putting power down cleanly, and the driveline would load and unload in a cycle that showed up as wheel hop.
Choosing a replacement
I had three realistic options:
| Option | Response | Isolation (NVH) | Notes |
|---|---|---|---|
| OEM rubber, fluid-filled | Lowest | Best | What the car was engineered around but required purchasing an entire subframe |
| Polyurethane | Medium | Medium | Stiffer than rubber, still some give. Potential to fail and have to be replaced in the future |
| Solid aluminum | Highest | Almost none | A direct metal path from diff to chassis, won’t every have to be replaced |
I did quite a bit of research and somehow convinced myself that aluminum wouldn’t cause any serious NVH issues. Plenty of owners on the forums said they were fine to live with, and in-car videos didn’t sound that bad. What I didn’t consider is that a camera’s microphone doesn’t capture vibration. You can hear some of the noise in a video, but you can’t feel the shake through the seat.
I went with the Z1 Motorsports solid differential bushing set, which replaces both the main bushing and the inserts in the diff’s mounting ears. As you’ll see, the forums and I were wrong.
The install
1. Dropping the differential
The first step was getting the limited-slip differential out of the car. Here it is on the jack with the original rubber inserts still in the mounting ears.
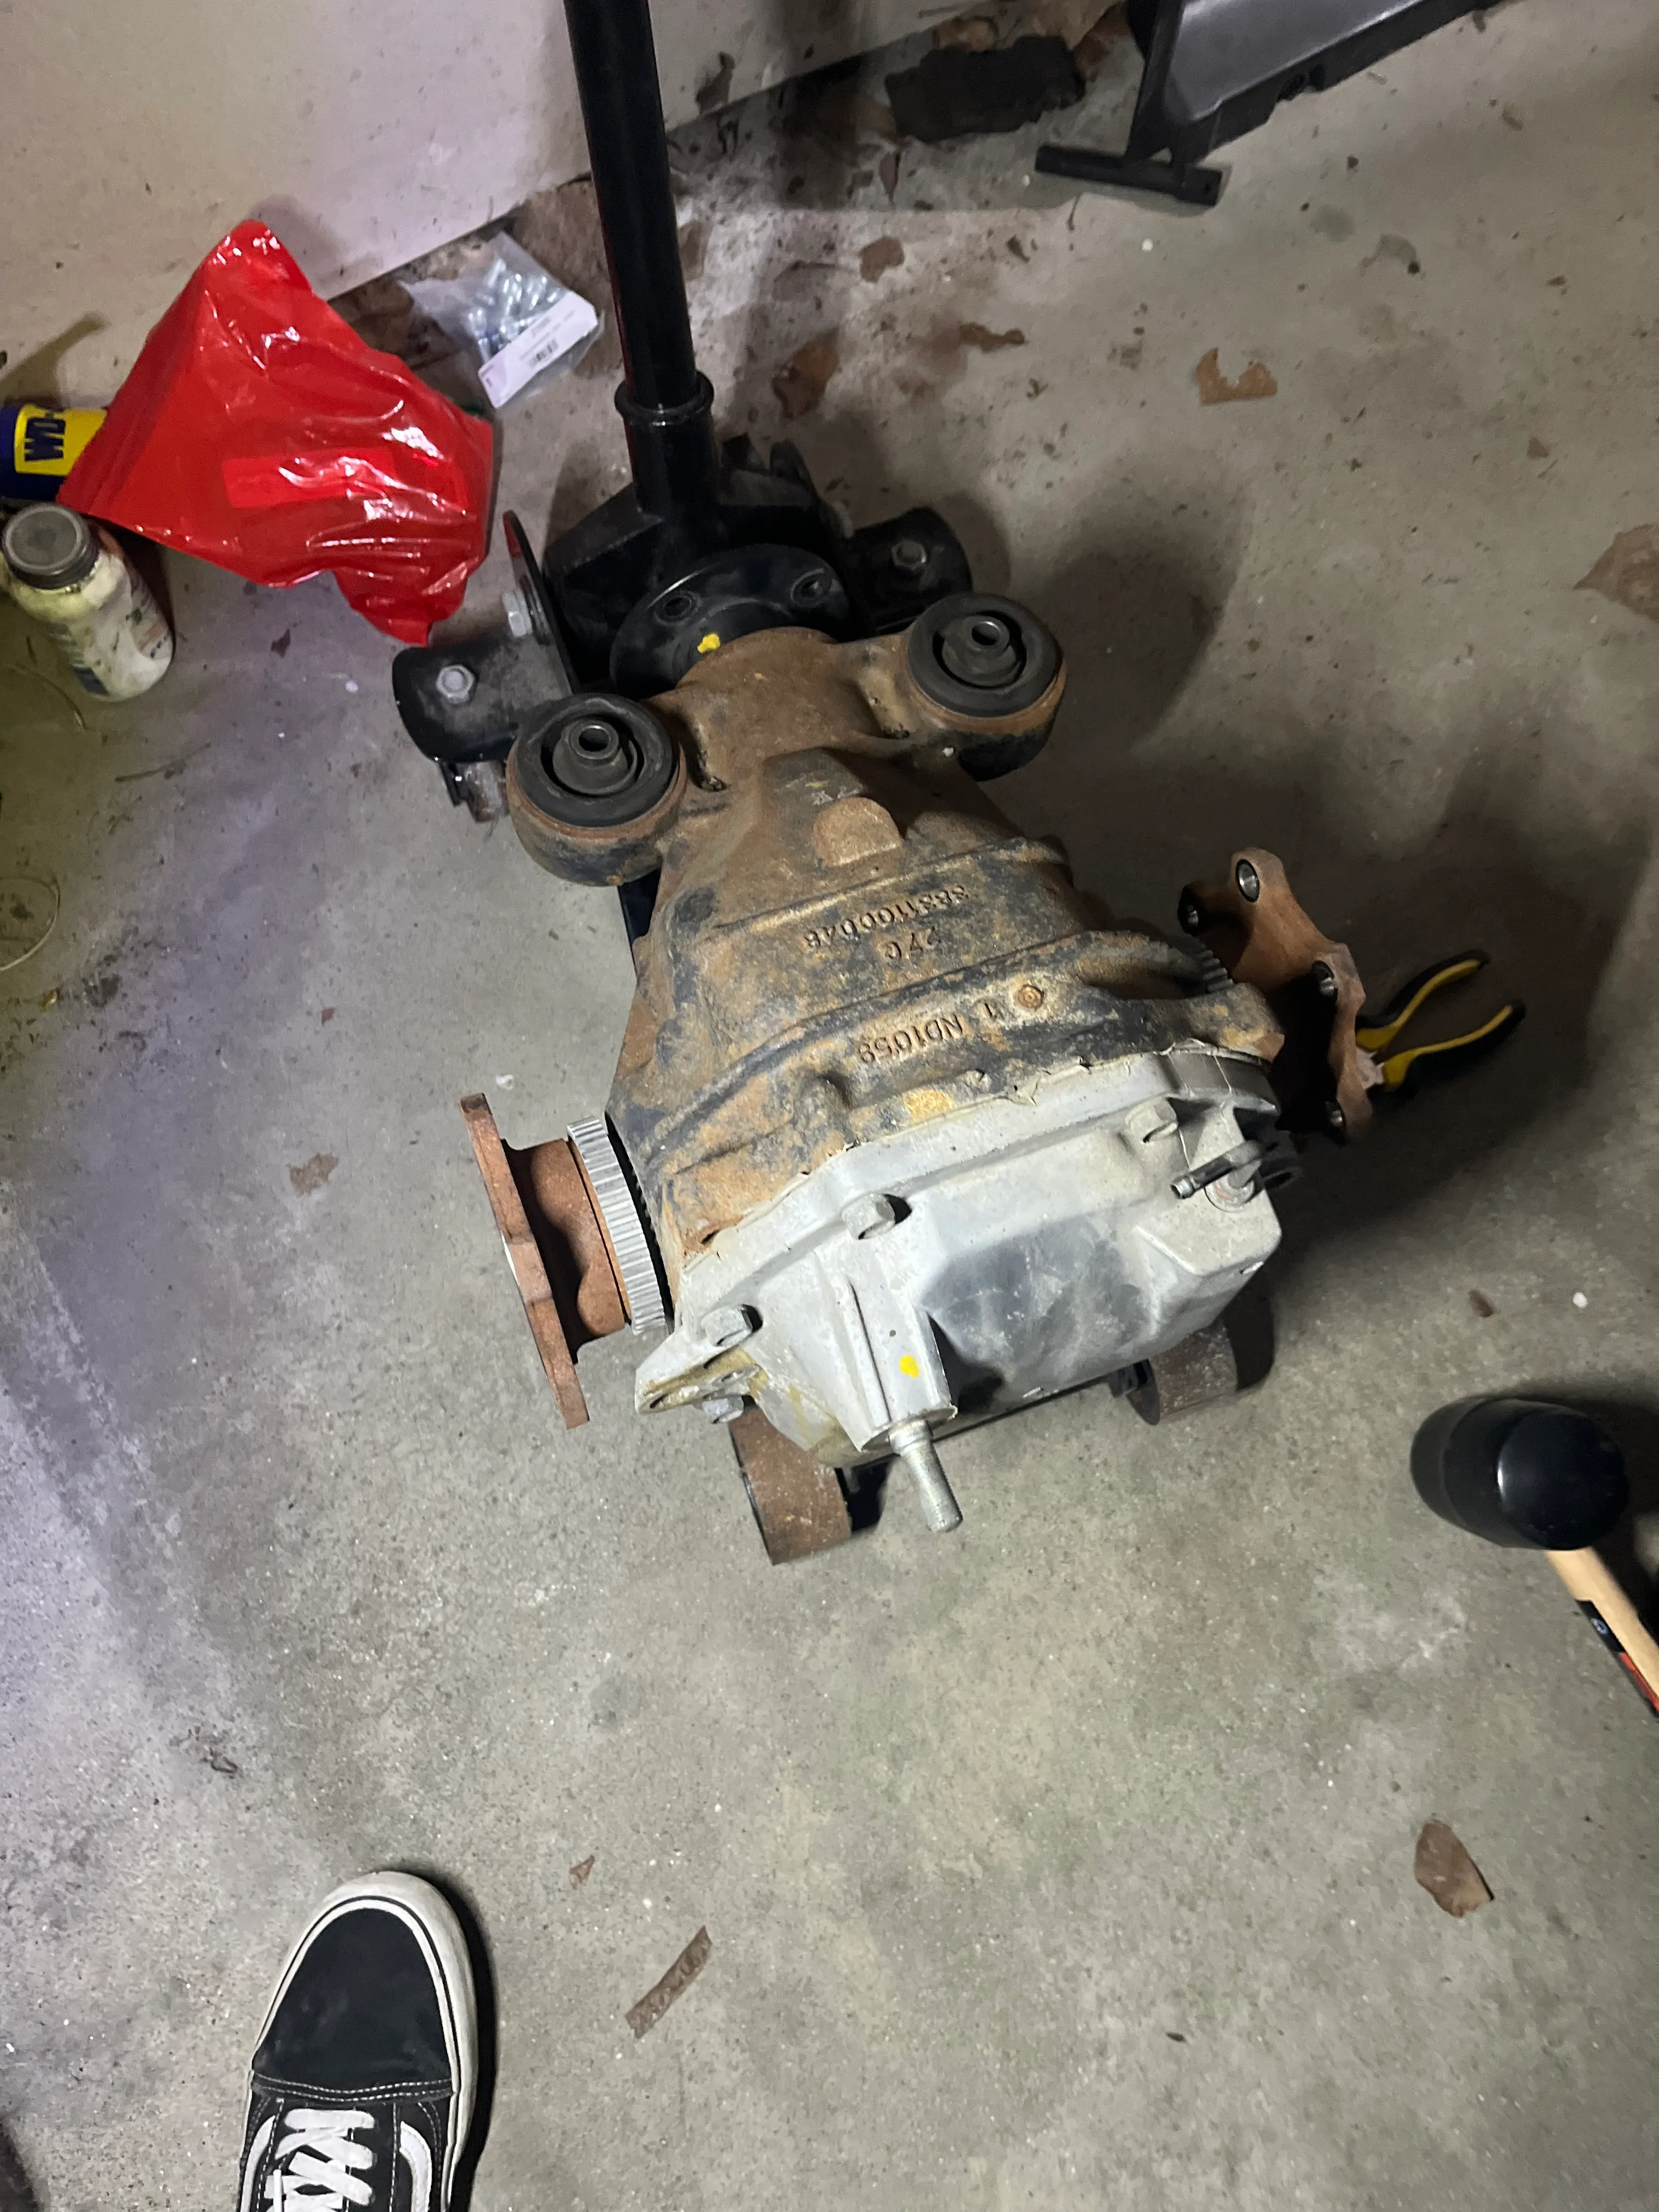 The LSD out of the car, still wearing its OEM rubber inserts.
2. The removal tool
The main bushing is pressed into the chassis, so it needs a dedicated tool to pull out and press in. I used the off-the-shelf Z1 Motorsports rear differential bushing tool. It uses a cup, a threaded rod and a set of pressing discs to draw the bushing out without damaging the bore, then press the new one in.
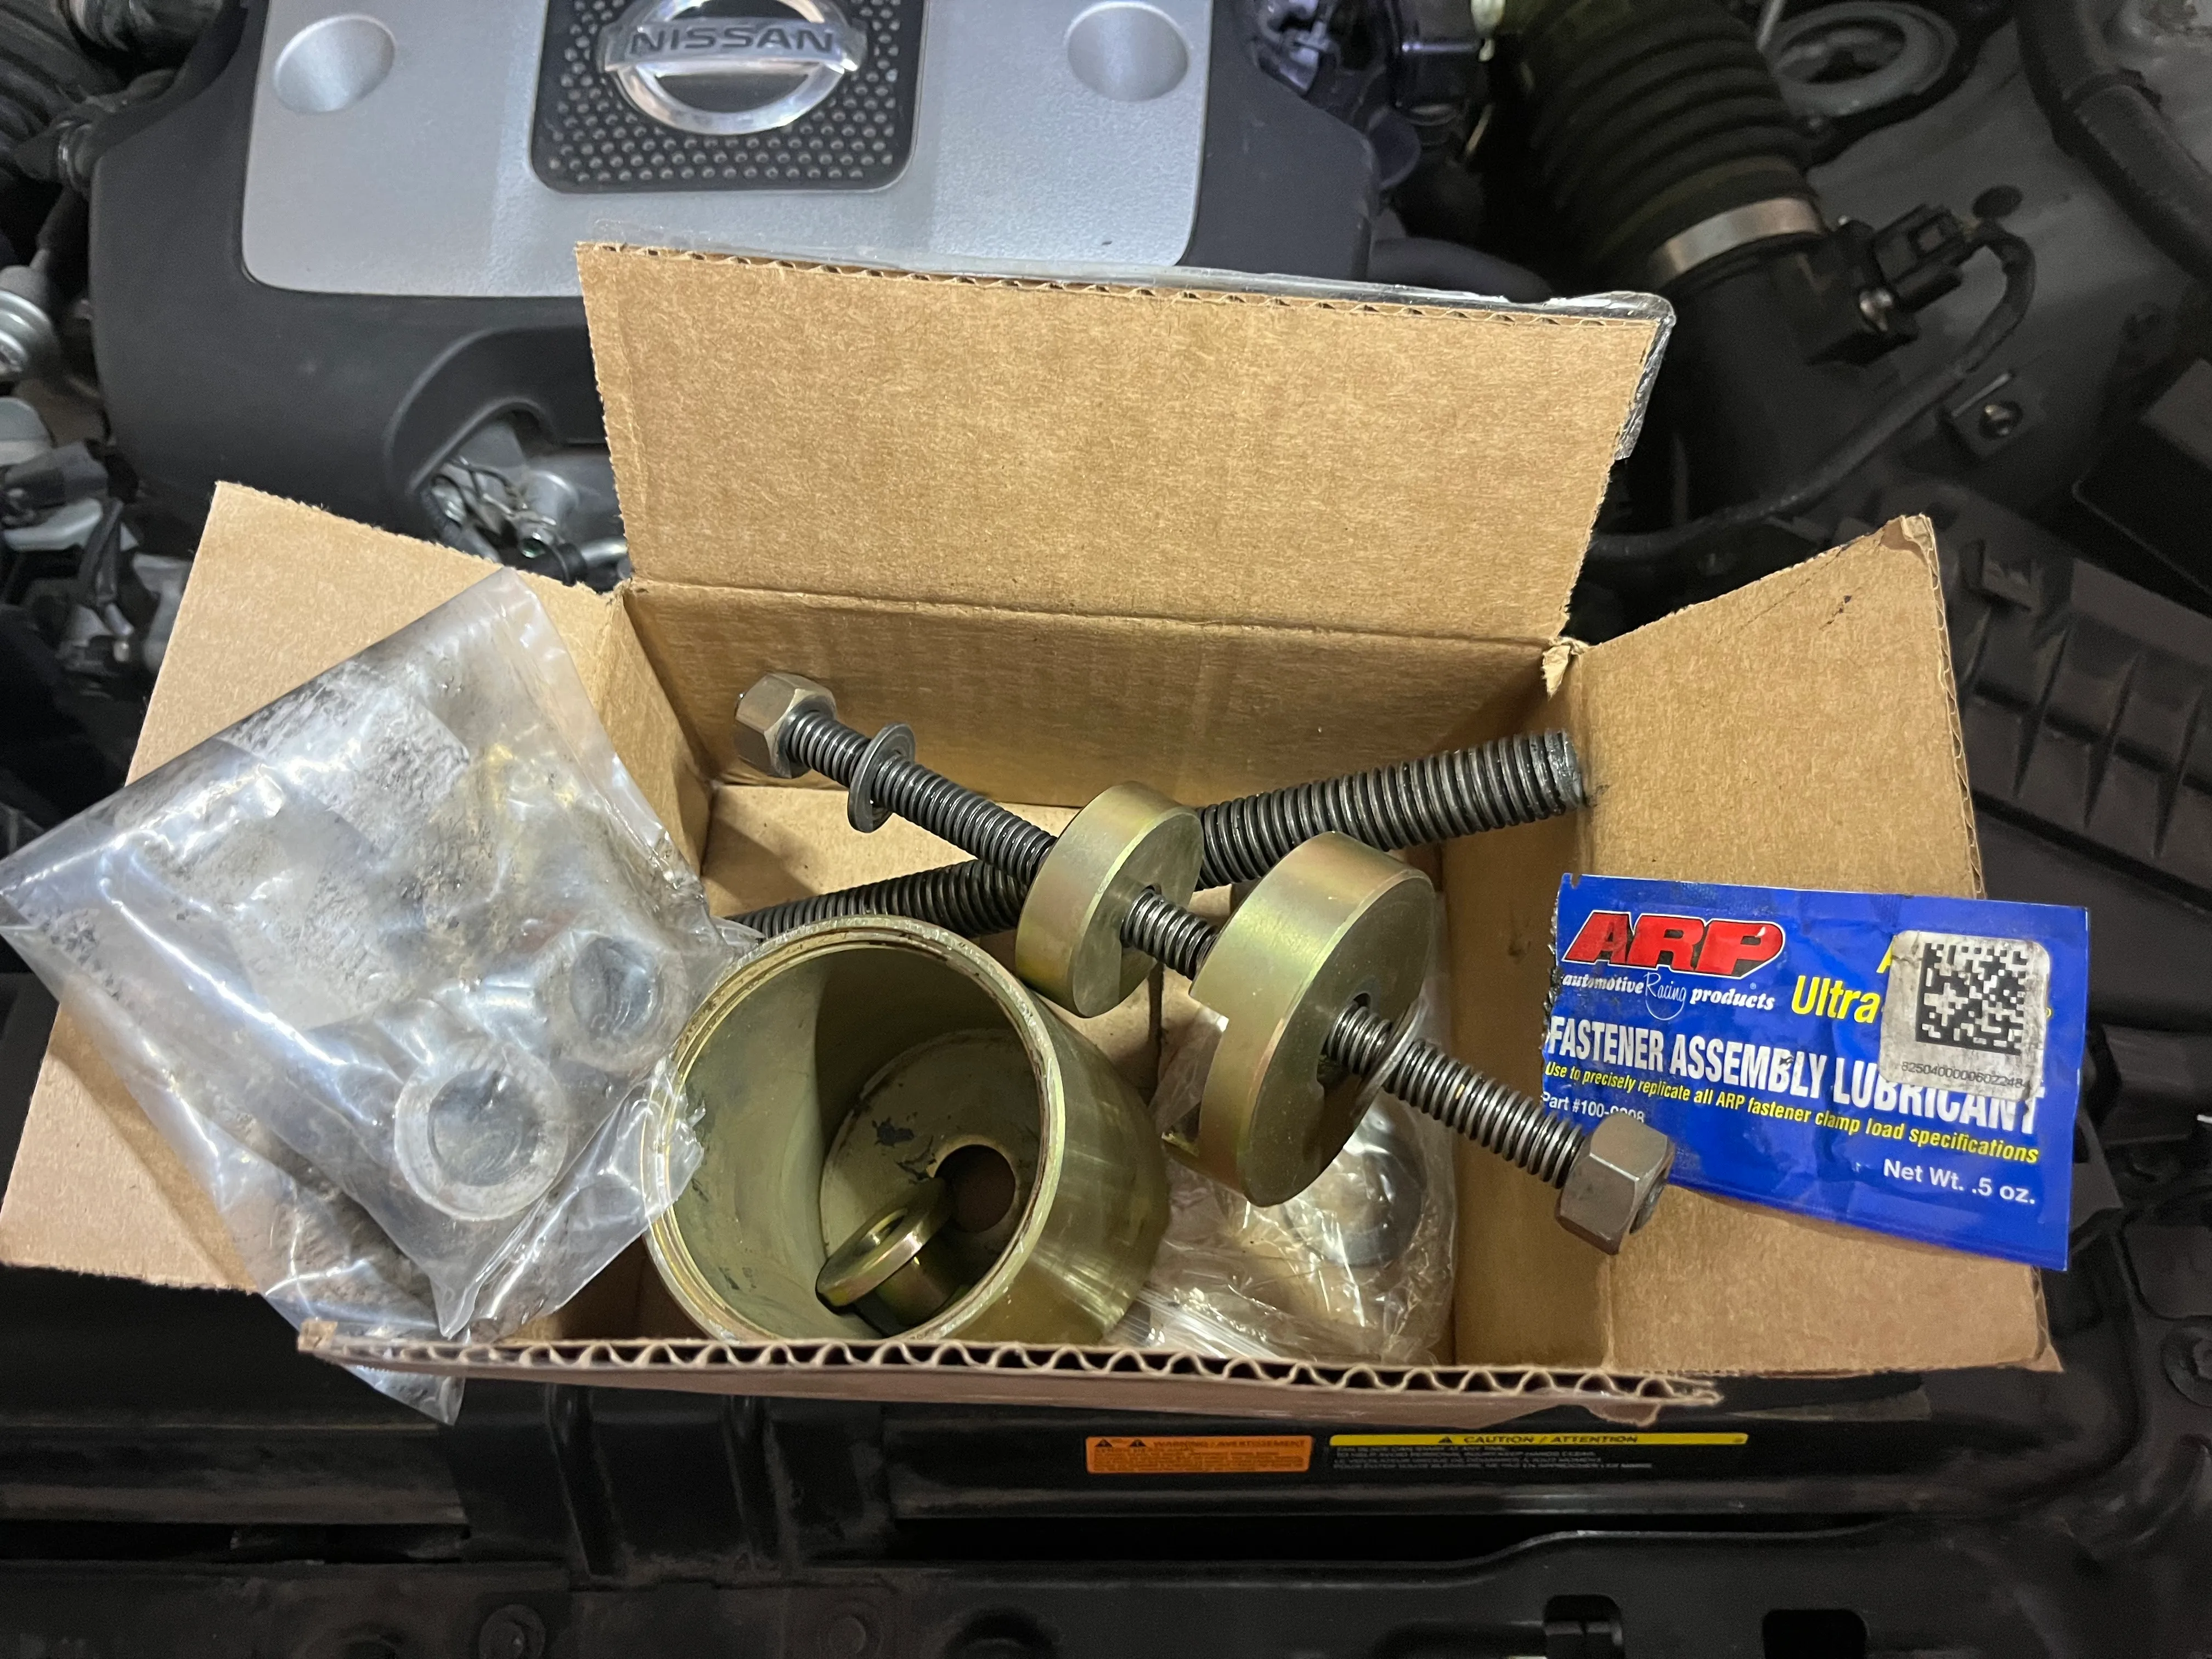 The bushing press tool. ARP lube on the threads makes the pressing much smoother.
3. Pulling the old bushing
Here’s the failed OEM bushing right after coming out, still in the tool’s cup. You can see the torn rubber where the fluid chamber let go.
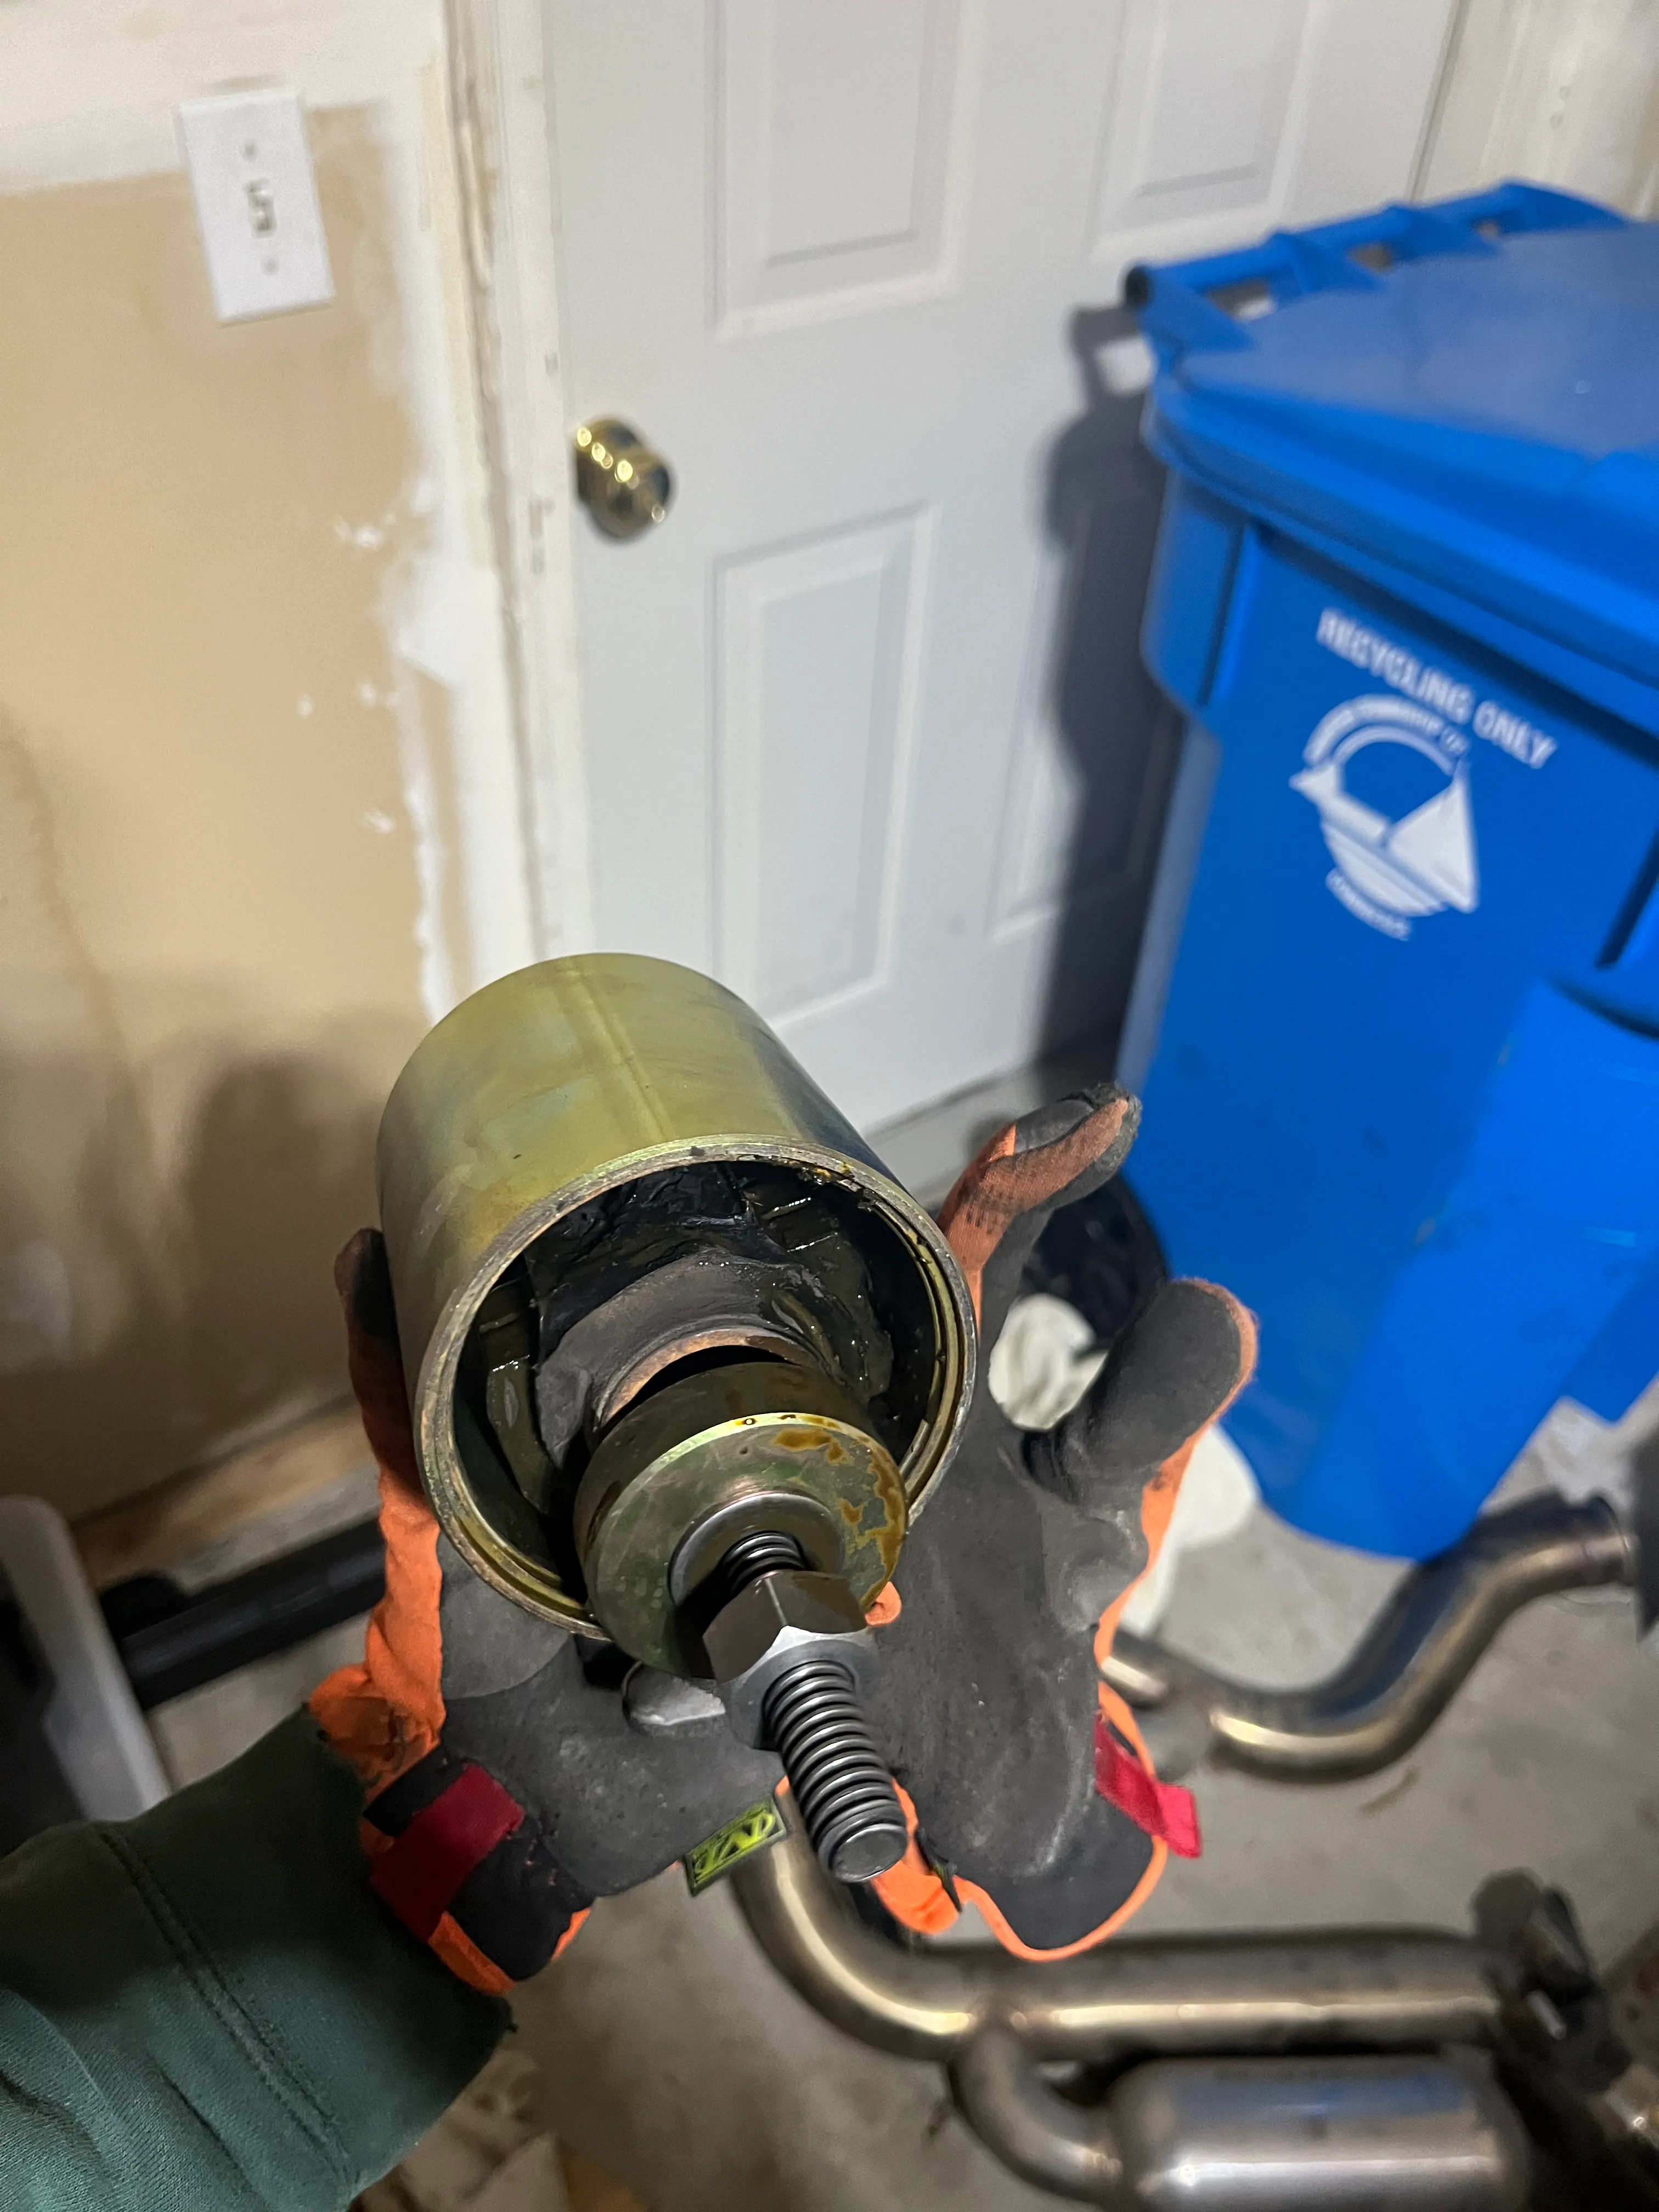 The OEM fluid-filled bushing after removal.
4. Installing the aluminum
With the old bushing out, I used the same tool to press in the aluminum replacement. The diff’s mounting ears also got aluminum inserts in place of the rubber ones.
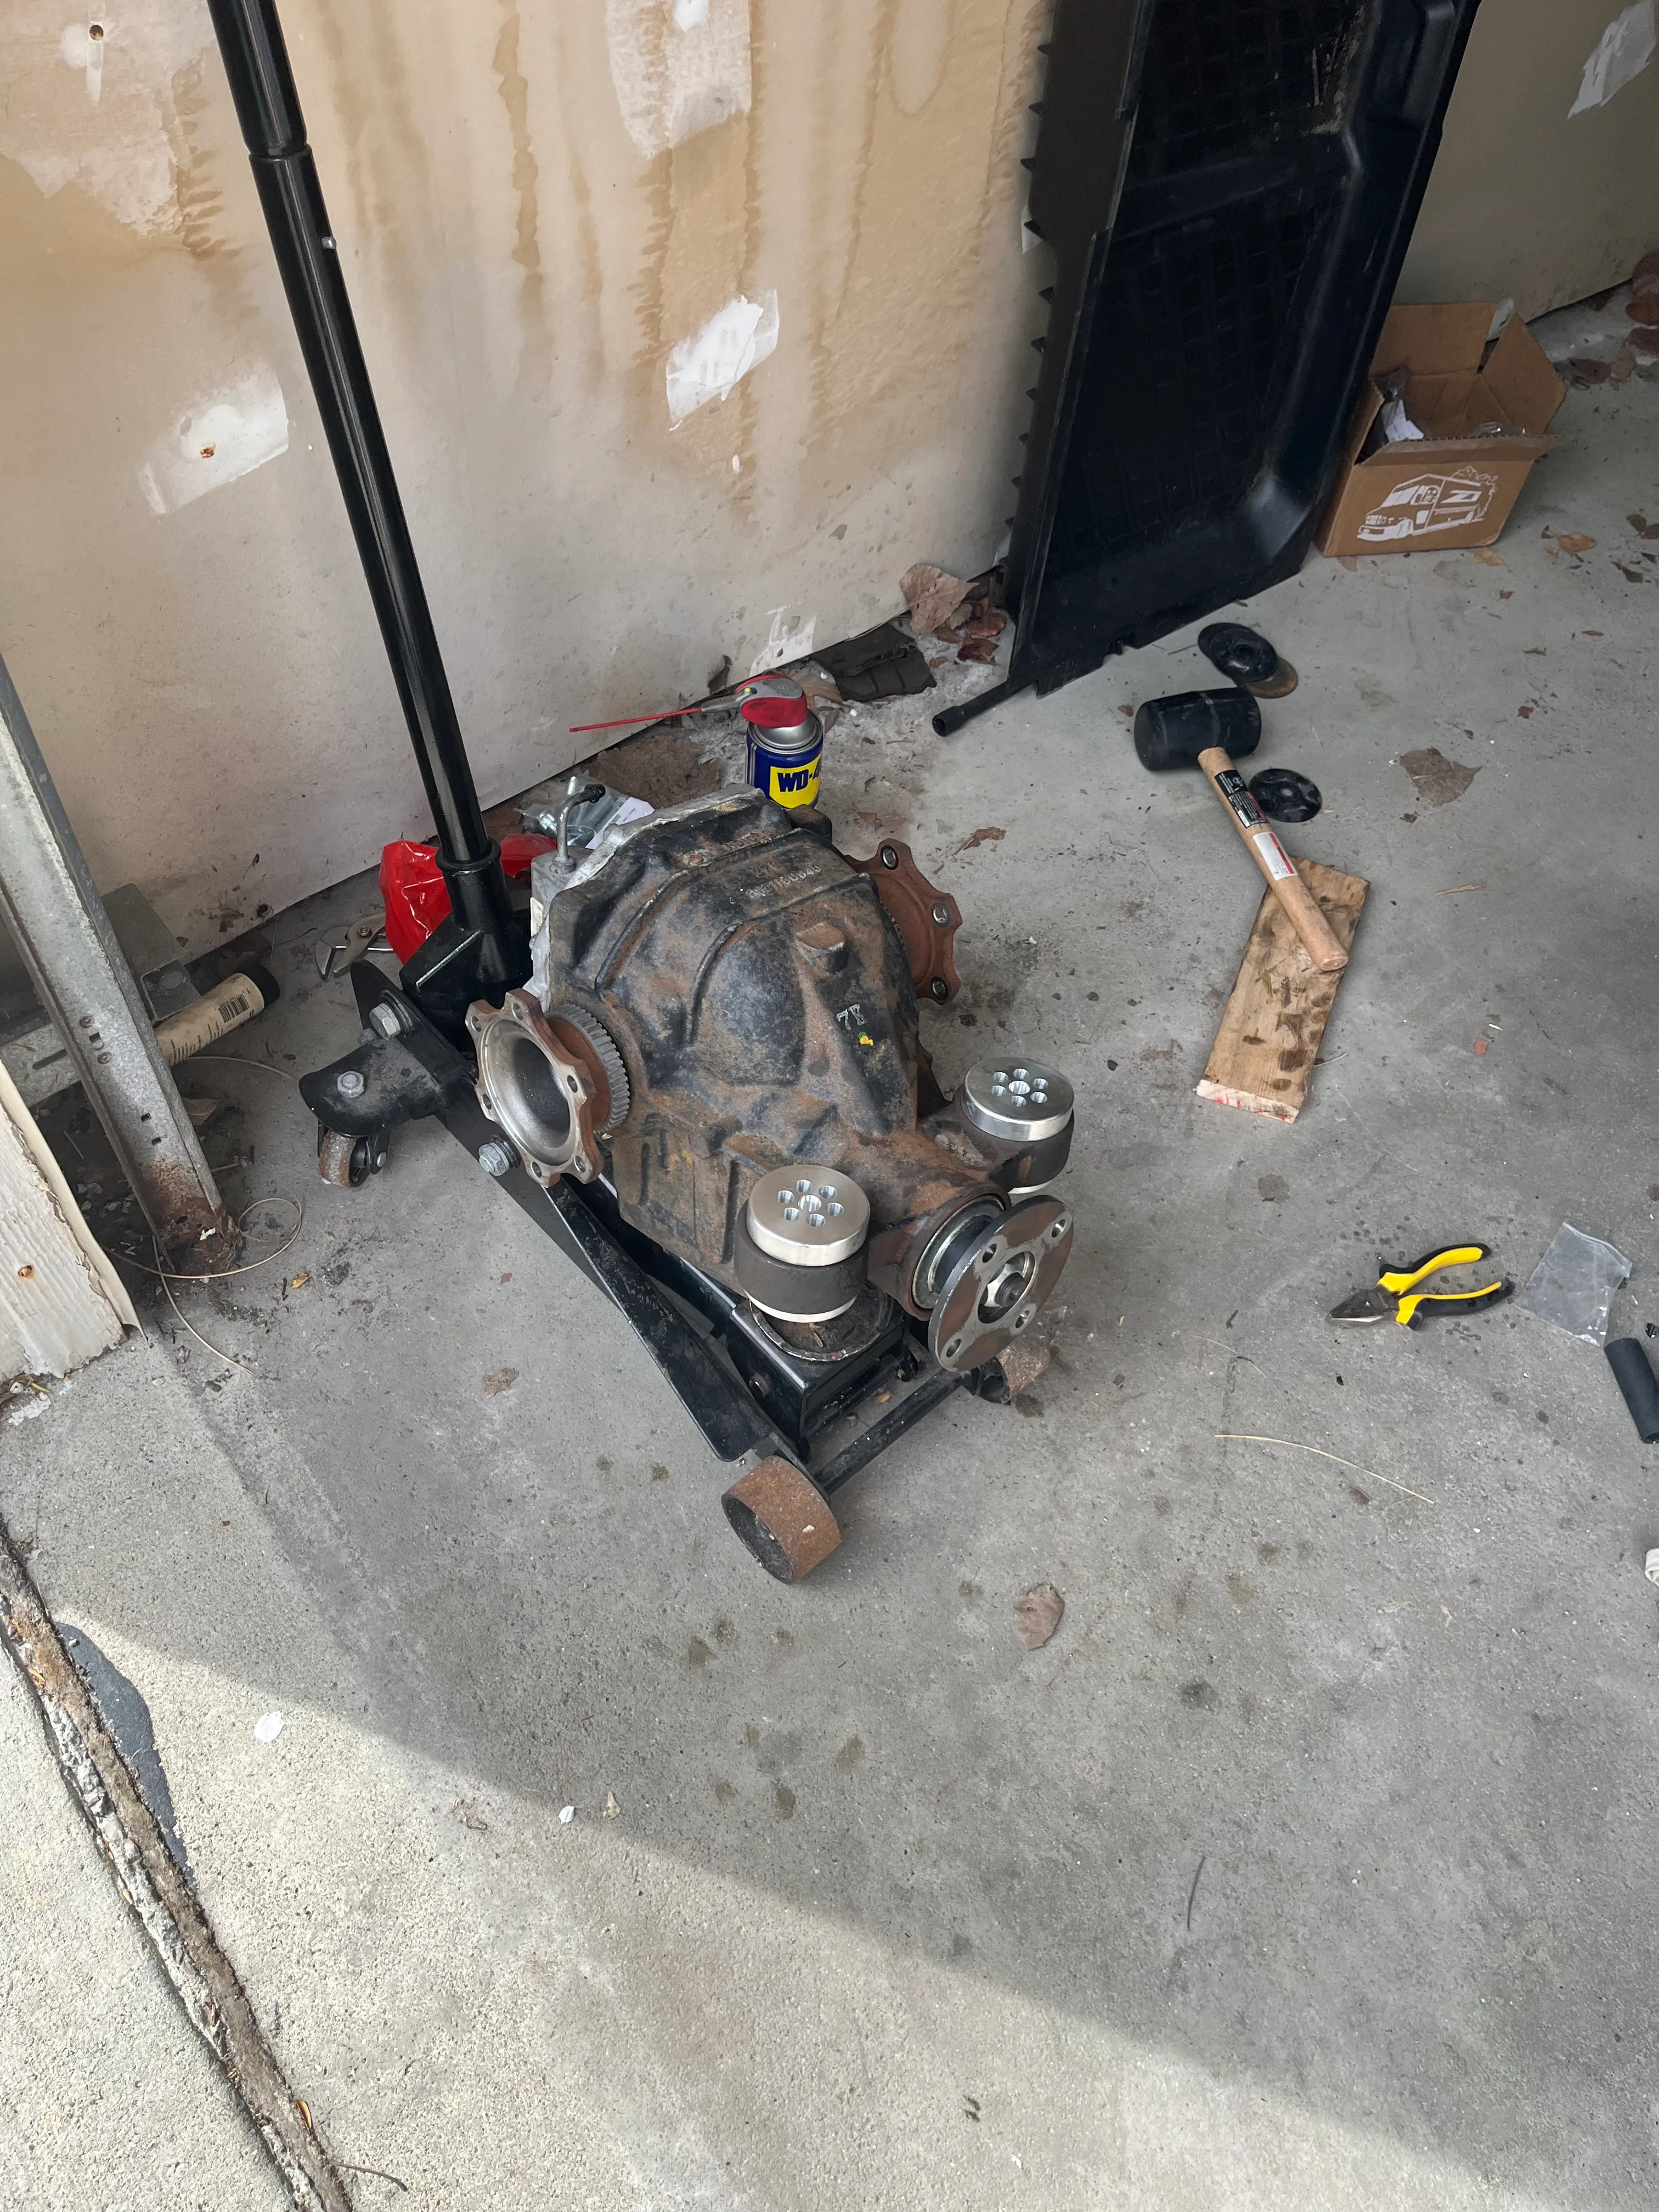 The diff with its new aluminum inserts.
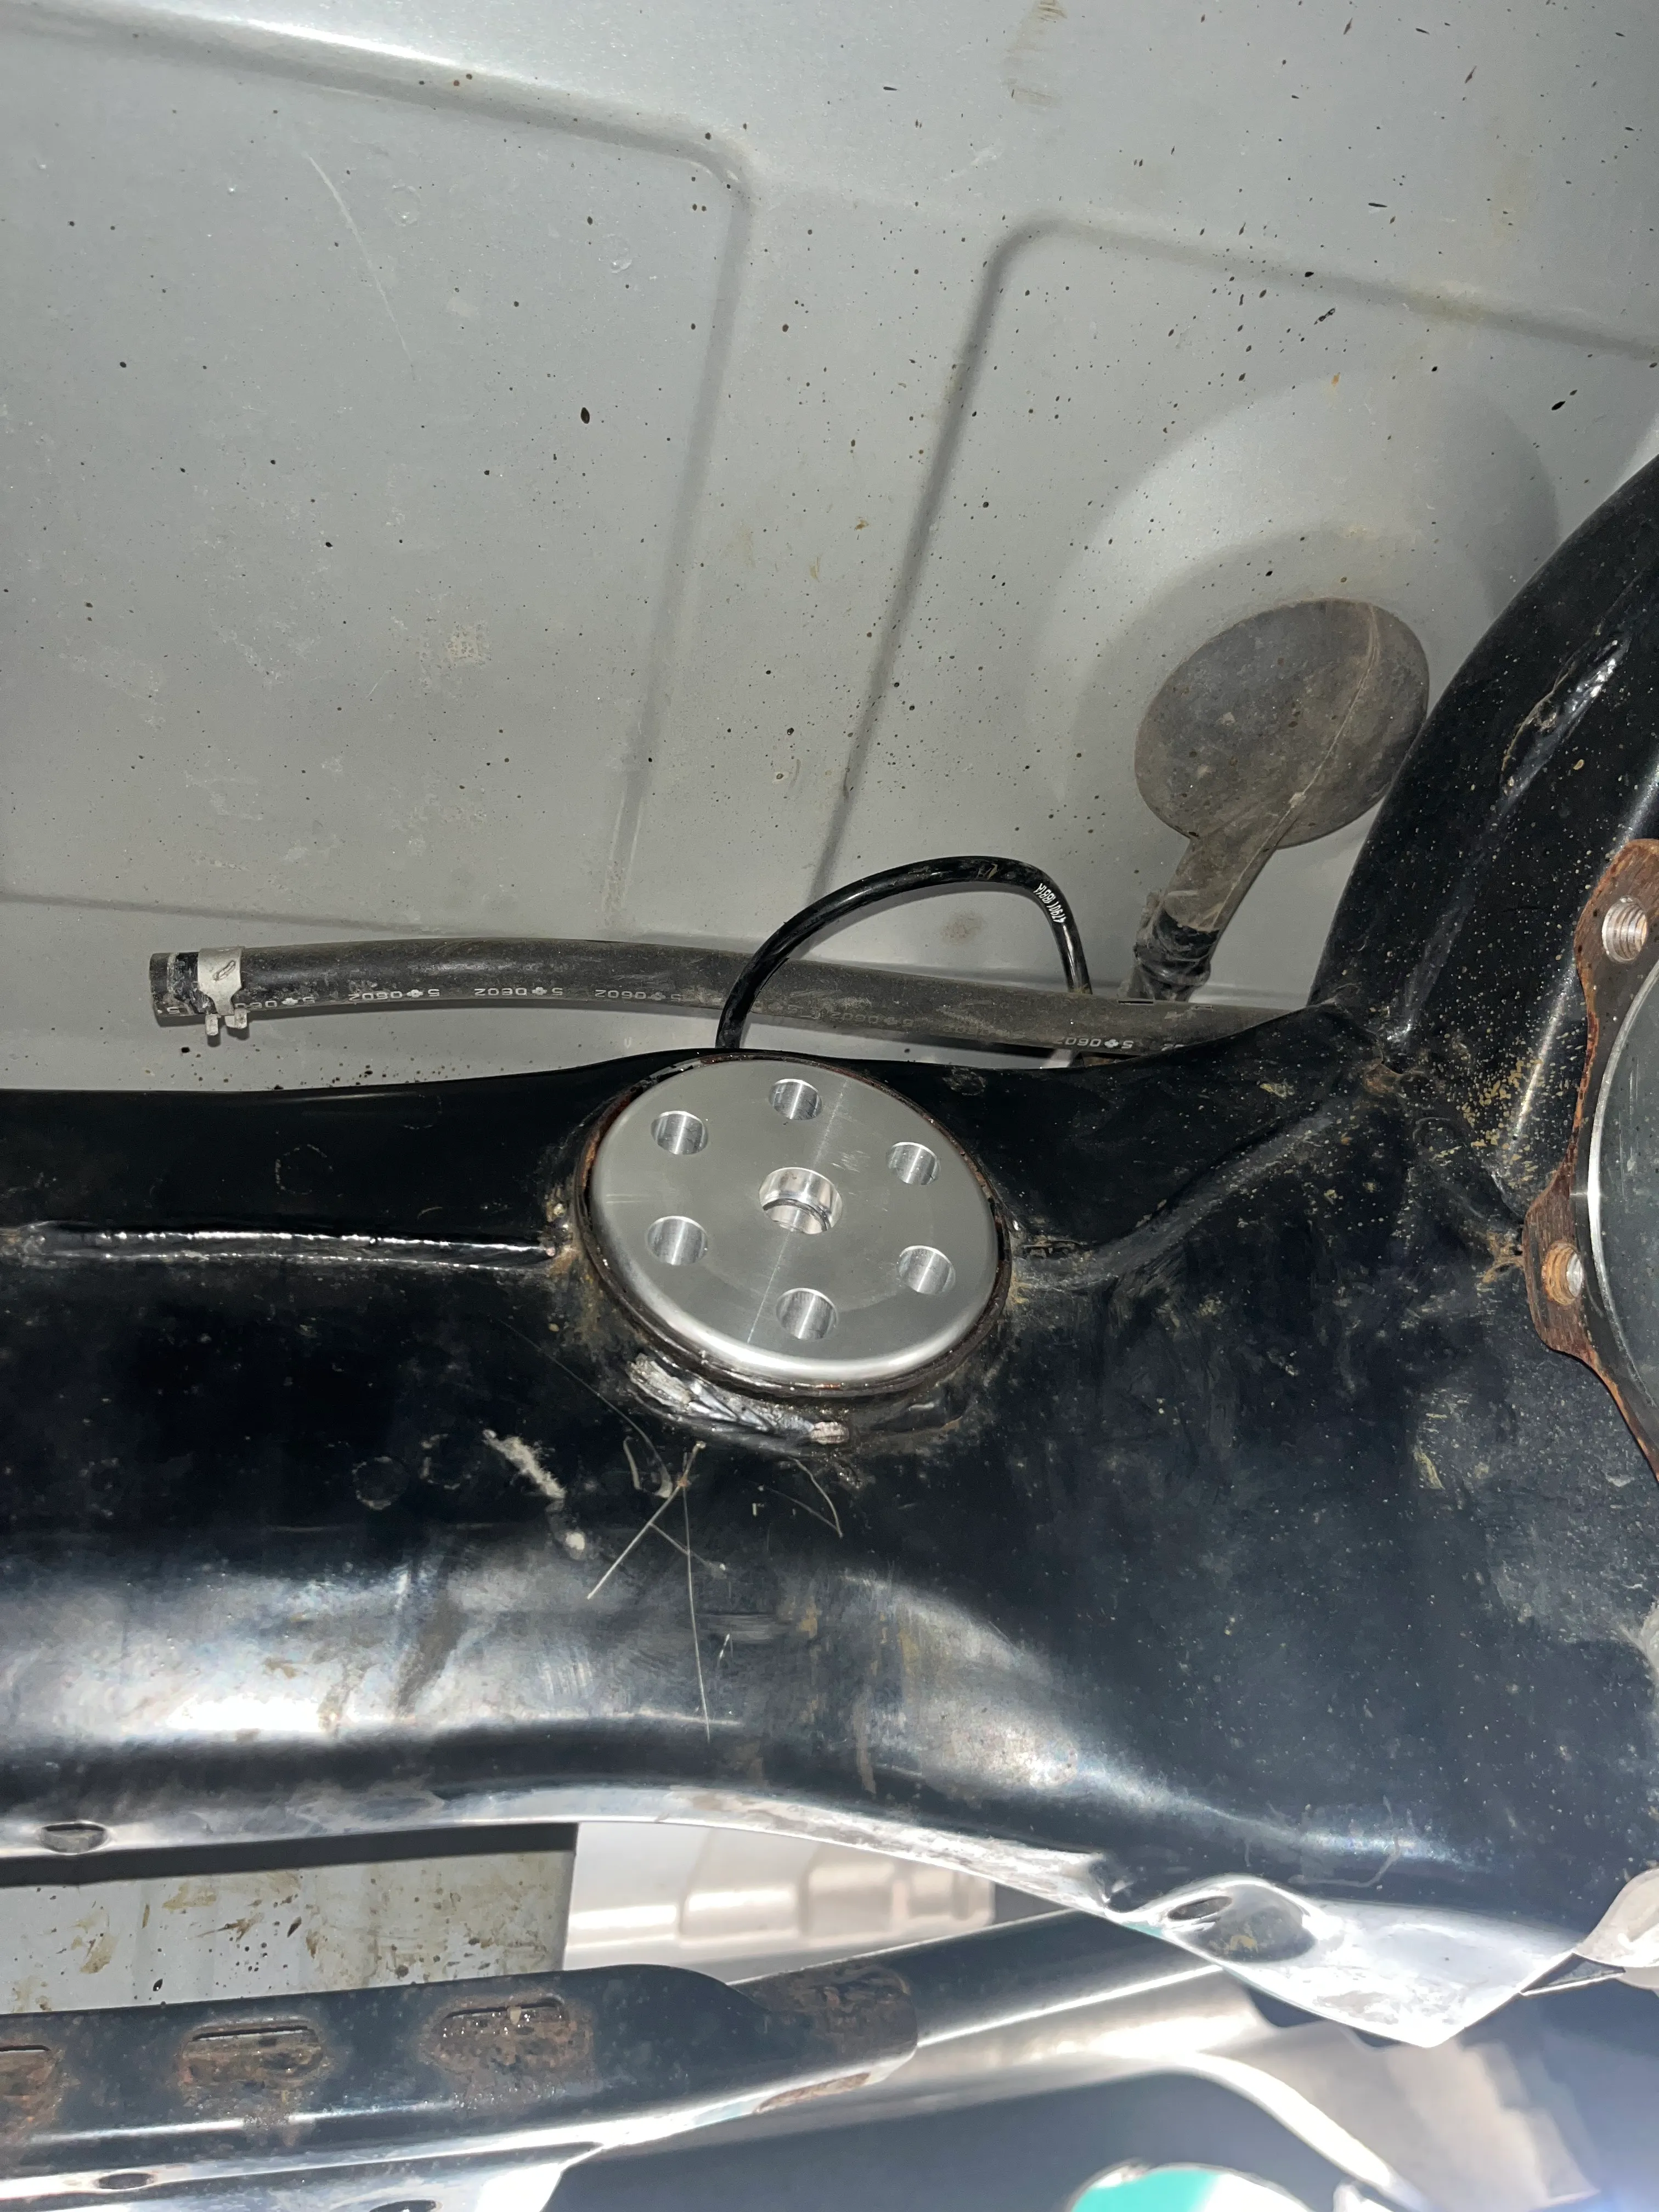 The aluminum bushing pressed into the crossmember. Solid metal from diff to chassis.
Then the diff went back in, and it was time for a test drive.
The first drive
The good news showed up immediately. The slop was gone:
- Shifts felt notchier and more direct.
- Launches were much more responsive, with no wind-up before the car moved.
- Tip-ins and tip-outs at speed were crisp, with no clunk as the drivetrain loaded and unloaded.
The bad news showed up just as fast:
- Whine: any time I was on the throttle above about 20 mph, there was a loud whine, almost like a supercharger.
- Resonance: around 6,500 RPM there was a resonance zone that felt like the engine was strapped to my back.
You can hear the whine from about 0:11 to 0:30 in this clip:
Living with it, and what’s next
The car is tolerable for about an hour at a time. Beyond that, the whine and vibration get tiring. For an autocross and track car that’s a reasonable trade, but it’s a lot to live with on the street.
Eventually I’d like to swap to polyurethane bushings. They should keep most of the precision (no more blown fluid bushings or launch wind-up) while giving back some of the isolation I lost.
What I learned
- NVH is invisible when it’s done well. The OEM bushing was quietly filtering out gear whine and resonances I never knew existed.
- Stiffer isn’t free. Every bit of compliance you remove from the drivetrain is a path for noise and vibration into the cabin.
- “Won’t cause serious NVH issues” depends on who’s saying it. On a dedicated track car, aluminum is great. On a car you drive to work, it’s a different story.
- Videos can’t tell you how a car feels. In-car footage captures some noise, but none of the vibration you feel through the seat and steering wheel.
- Match the part to the use case. Polyurethane is probably the right middle ground for a car that does both. While I was afraid to have to do the job twice, I wish I would’ve opted for poly bushings in the first place.